|
NeHe's OpenGL TutorialsInstead of copying the image you can select mode from the drop down menu and choose RGB mode. All of the filters should then be available. Next we need to resize the image so that the image dimensions are a power of 2. Remember that in order to use an image as a texture the image needs to be 128x128, 256x256, etc. Under the image menu, select image size, uncheck the constraint proportions checkbox, and resize the image to a valid texture size. If your image is 100x90, it's better to make the image 128x128 than 64x64. Making the image smaller will lose alot of detail. The last thing we do is select the filter menu, select distort and apply a spherize modifier. You should see that the center of the picture is blown up like a balloon, now in normal sphere maps the outer area will be blackened out, but it doesn't really matter. Save a copy of the image as a .BMP and you're ready to code! We don't add any new global variables this time but we do modify the texture array to hold 6 textures. GLuint texture[6]; // Storage For 6 Textures The next thing I did was modify the LoadGLTextures() function so we can load in 2 bitmaps and create 3 filters. (Like we did in the original texturing tutorials) ...» | Код для вставки книги в блог HTML
phpBB
текст
|
|


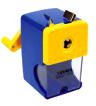 Механическая настольная точилка.







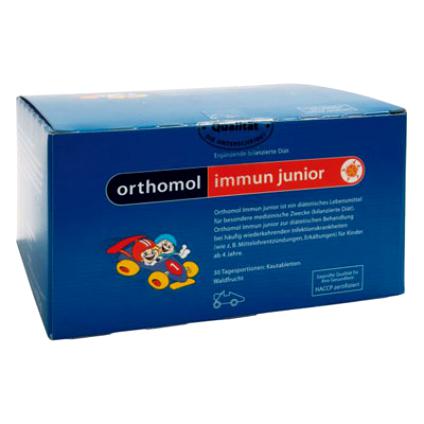 Orthomol Immun Junior Сила иммунитета на страже Вашего ребенка